

Onboarding
Choose a service, create your first project, connect a repository, and complete account setup.
Onboarding prepares your account and first repository for scanning. It does not start a scan. You will configure and approve the first scan separately after setup is complete.
Before you begin
You need:
- a NebuSec Platform account;
- access to the source code you want to scan;
- permission to connect the GitHub organization, submit a public Git URL, or upload the repository as a zip file; and
- billing access if your account requires a paid plan or payment method.
0. Account setup
Upon account creation, you will receive an email at the address associated with your nebusec account that includes a temporary password. You will need this password to log in to NebuSec Platform.
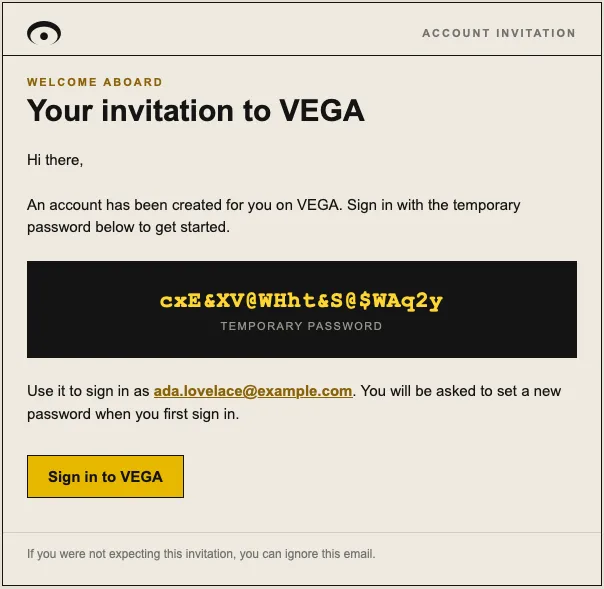
It may take a few minutes before the email arrives.
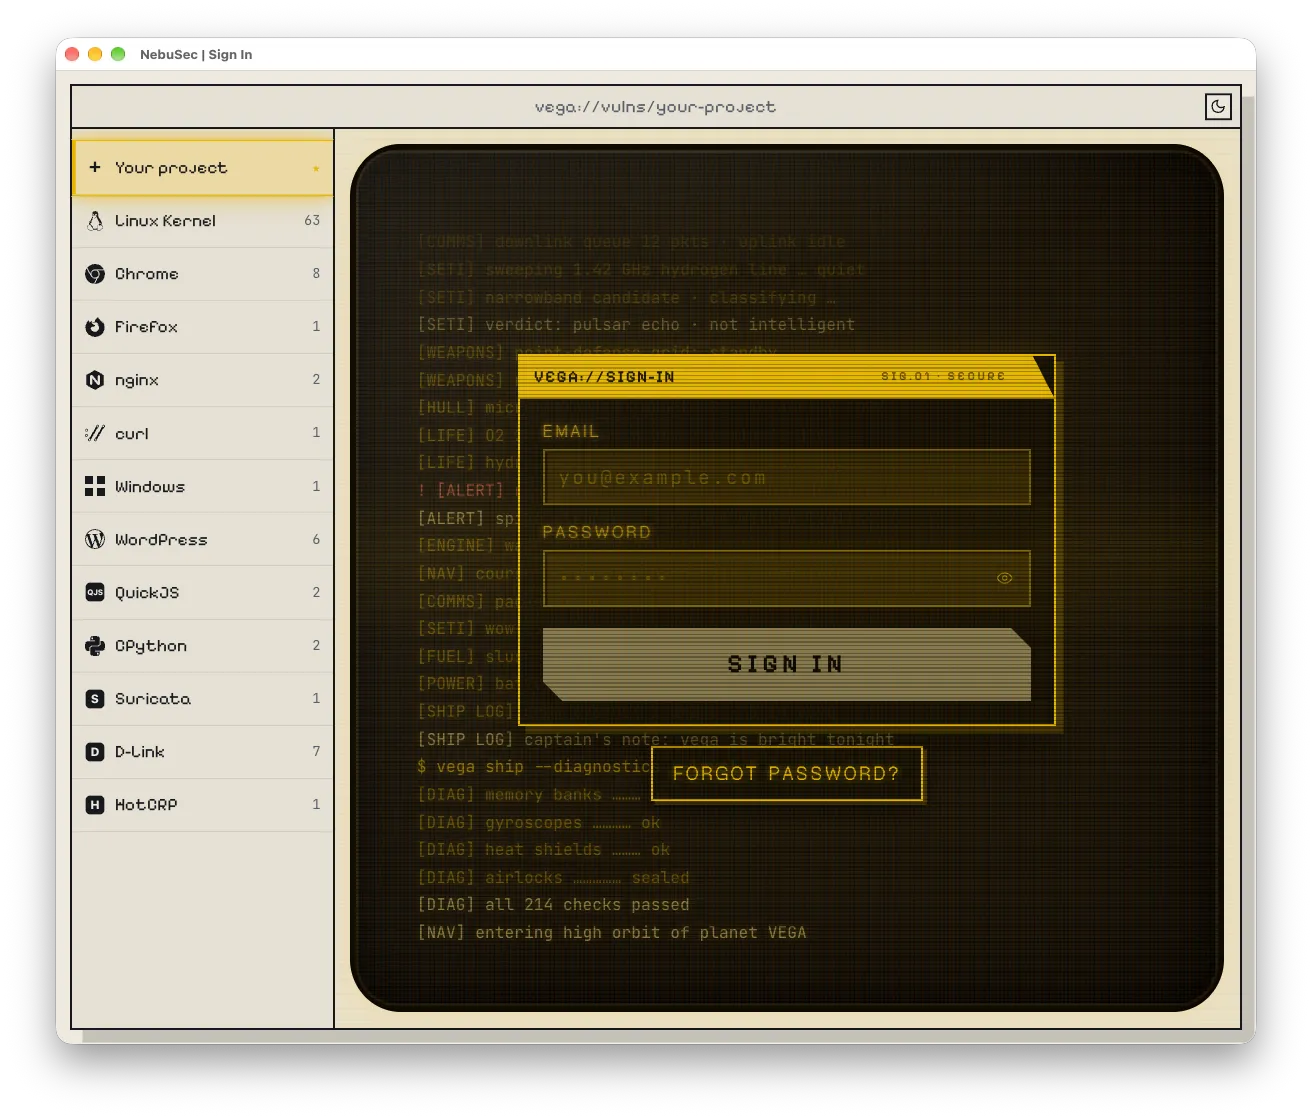
When you receive the email, click “Sign in to VEGA” or head to https://platform.nebusec.ai/login to log in to NebuSec Platform.
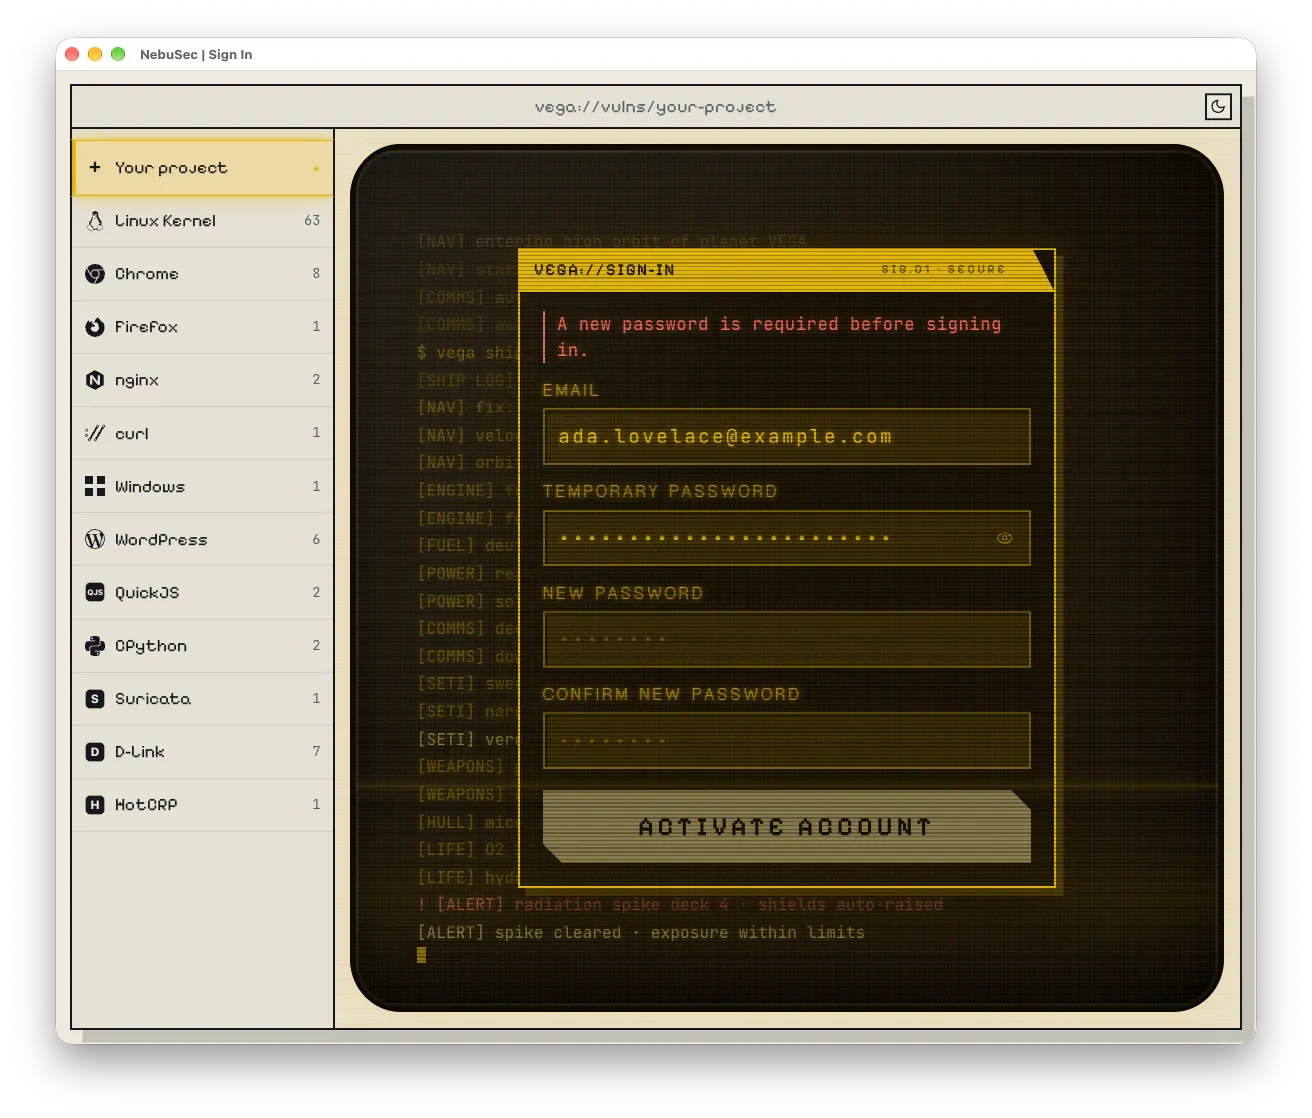
When you log in to the platform for the first time, you will be prompted to change the temporary password.
1. Choose a security service
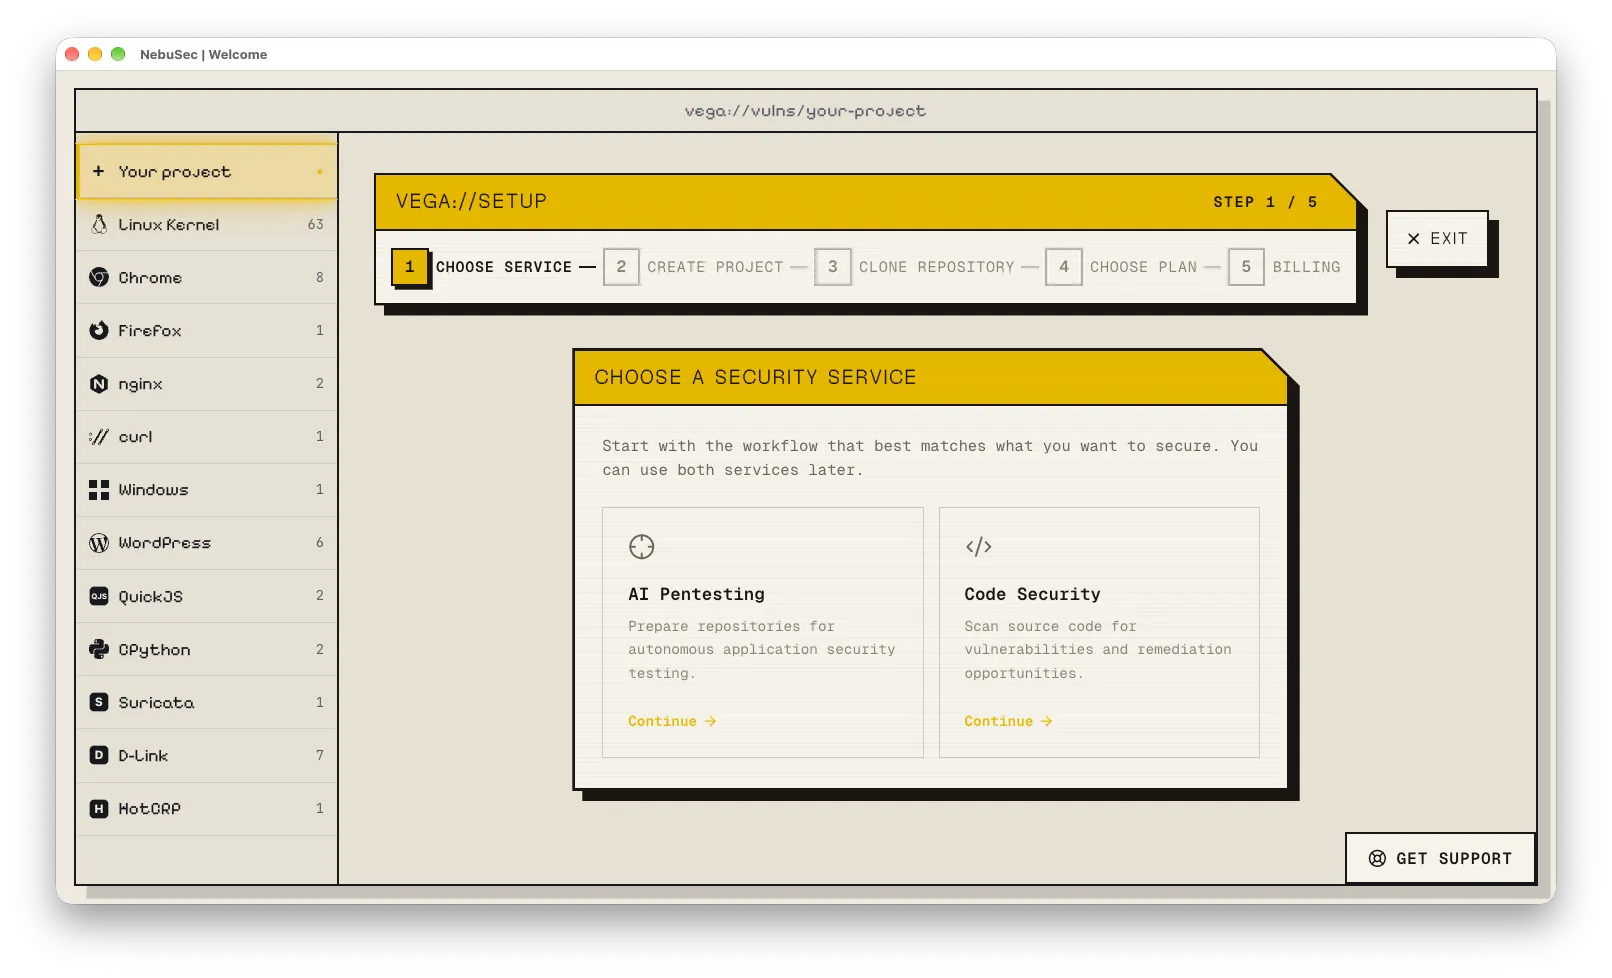
Select the service that matches the work you want Nebu to perform:
- Code Security continuously analyzes application source code and development workflows.
- AI Pentesting focuses on testing applications and systems from an attacker’s perspective.
Your available choices may depend on your account.
2. Create your first project
Enter a project name that represents the application, service group, or team you want to secure. A project is the top-level container for repositories, scans, findings, and team access.
Choose a name that will still make sense when the project contains several repositories, such as Customer Portal or Payments Platform.
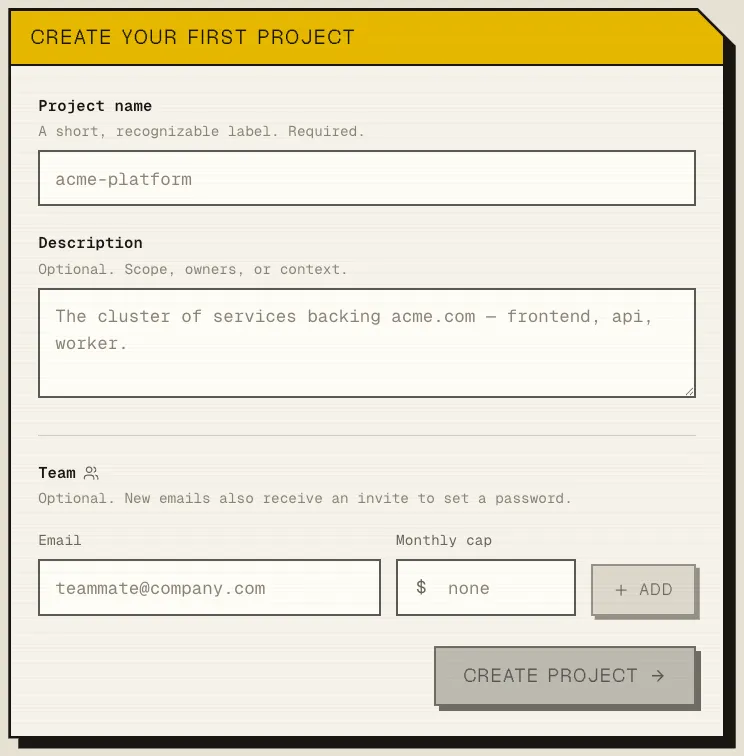
For more about the hierarchy, see Projects and repositories.
3. Connect a repository
Choose the source method that matches your repository:
- GitHub App: select a repository from a GitHub organization.
- Public Git URL: provide a publicly accessible Git repository URL.
- Upload zip: upload a source code archive in .zip format directly, if the source code is not managed by Git or is managed by Git privately on platforms other than GitHub.
Use the GitHub App method if possible
Only the GitHub App method allows automated pull request review and pull request creation.
If the repository uses Git submodules, enable Clone submodules only when Nebu should include them.
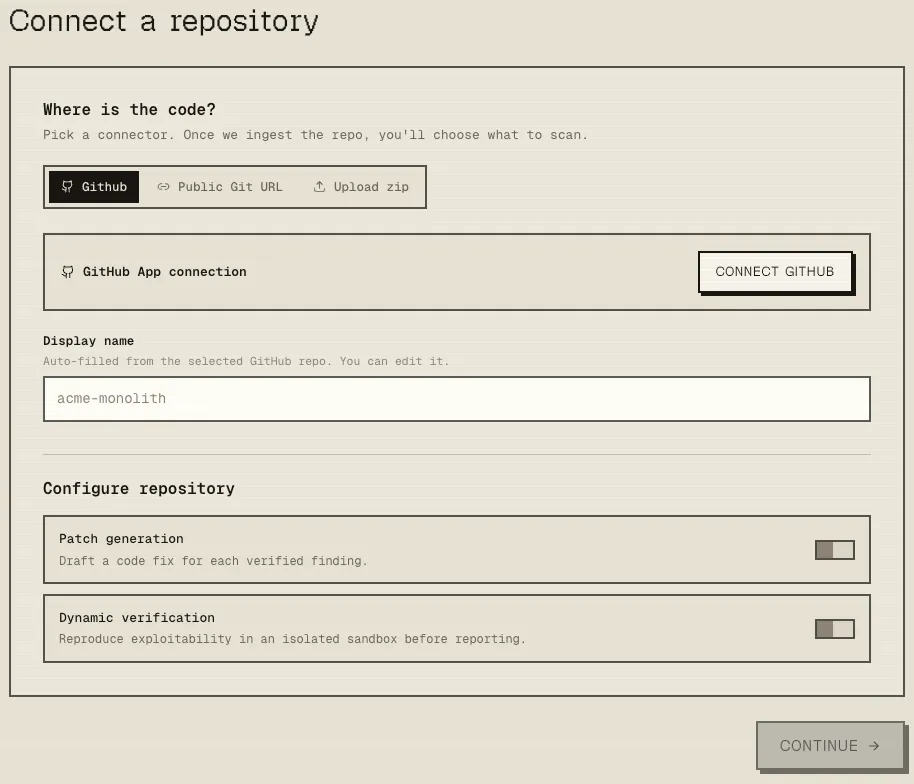
The display name will be automatically detected from the repository name, but can be changed it if needed. The display name only affects how it is referred to on the platform and does not change the repository in any way.
Before hitting Continue, there are several configuration options available at this stage, with more coming later. Here, you can choose whether to turn on patch generation and dynamic verification.
4. Set repository automation defaults
Repository automation settings become the starting defaults for future scans on that repository. You can still change eligible settings when configuring an individual scan.
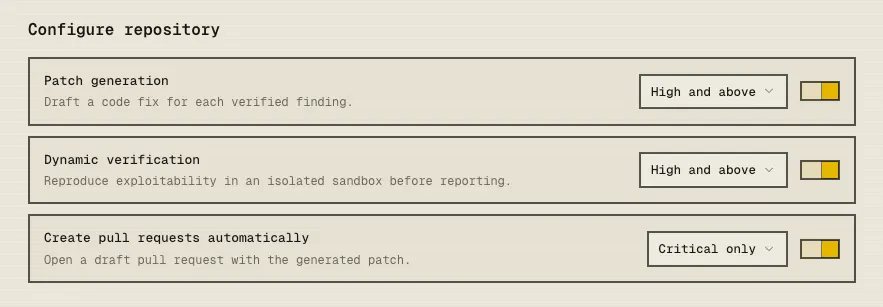
| Setting | What it does | Initial behavior |
|---|---|---|
| Patch generation | Drafts a proposed code fix for each verified finding at or above a selected severity. | Off by default. The default severity threshold is High and above. |
| Dynamic verification | Attempts to reproduce exploitability in an isolated environment before reporting a finding. | Off by default. The default severity threshold is High and above. |
| Create pull requests automatically | Opens a draft pull request containing a generated patch. | Available only for GitHub App repositories when patch generation is enabled. Off by default; the default severity threshold is Critical only. |
A severity threshold includes the selected severity and every more severe level. There are 5 severities, Info, Low, Medium, High, and Critical. For example, High and above includes High and Critical findings.
Cost could be higher when they are enabled
Since it requires more effort to generate patches and proof-of-concepts, each scan will cost more when they are enabled.
You can modify these settings later
You will be able to change these settings later after the onboarding process.
5. Choose a plan and complete billing
In this step, you will be prompted to confirm plan choices. Currently, we have Researcher (Pay As You Go), Developer, Business, and Enterprise plans.
Review the plans available for the connected repository, choose the billing interval shown in the application, and continue. Plan availability can depend on the source type, repository size, and account configuration.
Next step
When the repository status is Ready, open New scan to configure scope, options, and a fixed quote. See Start a scan.
